Wicked Stitch Quilting and Embroidery Services
How T-Shirt Quilts Are Made
Creating a T-shirt quilt can be an involved process, requiring both creativity and some basic sewing skills. The following guide covers the key steps in crafting a T-shirt quilt, from planning and cutting to assembling and finishing. Whether you're making one yourself or commissioning a professional, understanding the process can help you achieve the perfect result.
Here’s a list of the basics required:
- T-shirts (typically 12-36, depending on quilt size)
- Backing fabric (often cotton or flannel for comfort)
- Iron-on interfacing (adds stability to the T-shirt fabric)
- Rotary cutter or fabric scissors
- Cutting mat and ruler
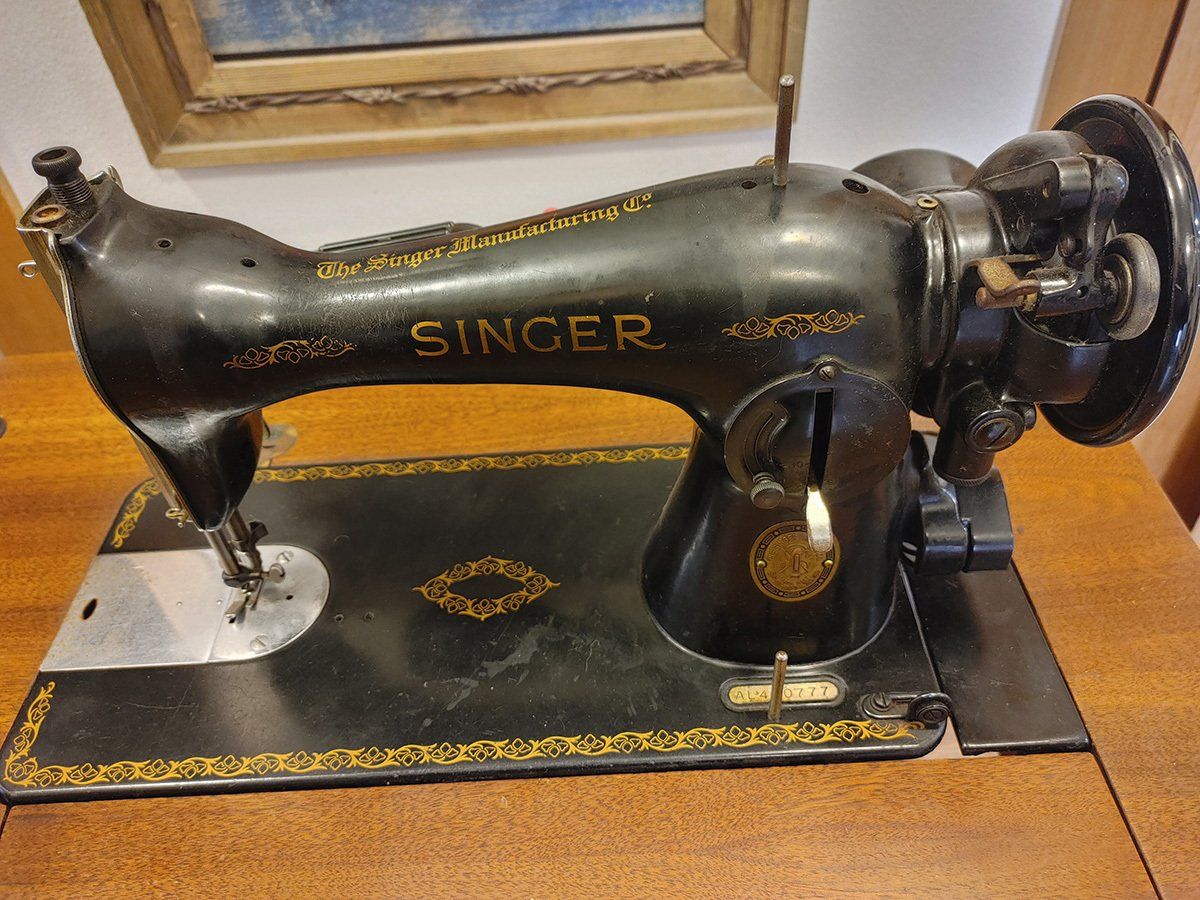
- Sewing machine (optional, but recommended for durability)
- Pins or clips (for holding pieces together)
- Quilt batting (provides warmth and thickness)
- Thread (coordinating with T-shirt and backing colors)
Choosing and Preparing T-Shirts
- The first step in making a T-shirt quilt is to select the T-shirts to include. Choose those with significant sentimental value or those you no longer wear. It’s also essential to check the size and quality of the prints on each shirt, as some logos or designs might be too small or large for the squares needed.
- Once selected, wash the shirts to remove any dirt, dust, or stains. This is especially important since the shirts are likely worn and may have unseen spots or odors.
Cutting the T-Shirts to Size
- One of the more crucial steps is cutting each T-shirt to the right size. This process requires attention to ensure that all the squares are the same dimensions. Typically, each square is cut to 12x12 inches, but sizes can vary depending on the size of the logos or graphics on the shirts.
Sewing the Quilt Top
- To stabilize the fabric, iron-on interfacing is applied to the back of each T-shirt square. Interfacing helps prevent the stretchy T-shirt material from distorting when sewn together, ensuring that each square keeps its shape.
- After ironing, use a rotary cutter or fabric scissors and a cutting mat to measure and cut each T-shirt to the desired size. A quilting ruler can be especially helpful for precision.
Arranging the Quilt Layout
- Once all the T-shirts are cut into squares, arrange them on a flat surface to decide on the layout. Some quilters prefer a random arrangement, while others like to organize by color, theme, or event sequence. Taking photos of different layouts can help you decide on the best arrangement before sewing.
- With the layout finalized, begin sewing the squares together row by row. Using a sewing machine ensures sturdiness, but hand sewing can work if you're comfortable with it. Remember to use a quarter-inch seam allowance for each square, and press the seams flat as you work.
- After sewing all rows, sew the rows together to complete the quilt top. Again, press the seams to keep the quilt top flat and even.
Adding Batting and Backing
- To make the quilt warm and cozy, add a layer of batting beneath the quilt top. Quilt batting comes in various thicknesses and materials, including cotton, polyester, and wool. The choice depends on the desired warmth and loft (fluffiness).
- For the backing, choose a fabric that complements the T-shirts. Common choices are cotton or flannel, which are soft and comfortable. Lay the quilt top, batting, and backing fabric together in a "quilt sandwich" and pin or clip them in place.
Quilting the Layers Together
- With the layers assembled, it’s time to quilt them together. Quilting stitches can be simple or elaborate, depending on the maker’s preference. For a T-shirt quilt, simple straight lines are often sufficient.
Binding the Quilt
- Finally, finish the edges by binding the quilt. Binding strips, usually cut from coordinating fabric, are sewn around the outer edges of the quilt to give it a clean border and to prevent fraying.
Preserving and Caring for a T-Shirt Quilt
To ensure a T-shirt quilt lasts for years, it’s essential to take proper care of it. T-shirt quilts require gentler treatment than traditional quilts due to the delicate T-shirt fabric.
Washing and Drying
Wash T-shirt quilts on a gentle cycle with cold water and mild detergent. Avoid using bleach or harsh chemicals that could fade the fabric or weaken the fibers. Tumble dry on a low heat setting or air-dry to minimize wear.
Storing
Store the quilt in a cool, dry place, and avoid long-term exposure to direct sunlight, which can fade the fabric. Avoid folding the quilt in the same place every time, as this can lead to permanent creases. Instead, consider rolling it or folding it in a different pattern.
Repairing
If a seam rips or a square becomes loose, prompt repairs can prevent further damage. Keeping a basic sewing kit on hand with matching thread and a needle makes it easy to make minor fixes as needed.
T-shirt quilts are a beautiful blend of practicality and nostalgia, offering a unique way to hold onto memories in a useful, artful form.
Whether made as a personal project or commissioned from a professional, T-shirt quilts carry special significance for their owners. They represent chapters of life and experiences, stitched together in a way that few other keepsakes can capture.
With proper care, these quilts can become family treasures, connecting the past with the present and providing warmth and comfort along the way.
Wicked Stitch Quilting

Copyright © 2024 Wicked Stitch Quilting